

12 Tips To Become More Independent
There are 12 tips to become more independent. The latest global crisis has exposed many to the reality of being dependent on others for their basic needs. Many in the prepping and survival community already know about the need to prepare for unforeseen circumstances and being independent. Yet, you do not know what you will need until a situation arises. For example, the current crisis exposed everyone to the need to keep N95 masks. However, getting through the next crisis may require you to store an abundance of

How Is Your Physical Fitness? Seven Areas of Consideration
How is your physical fitness? There are seven areas of consideration to help achieve and maintain your peak physical readiness. Physical fitness is a critical element for long term survival in the outdoors. Survival and preparedness experts agree that staying healthy and in shape will give you an edge in a survival situation. The physical fitness movement that began in the 1980s is an extension of the organic lifestyle movement of the 1960s. Thus, health, wellness, and being fit physically have characterized much of American culture over the
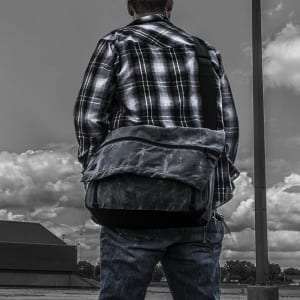
5 Survival Items You Should Carry At All Times
There are five survival items that you should carry at all times. We never know when we will be in an emergency survival situation. One does not need to be going deep in the backcountry to prepare for an unplanned event. There are many discussions about everyday carry (EDC), bug out bags (BOB), and other solutions to address emergencies. However, emergency survival does not gradually creep up on a person.An emergency survival situation happens suddenly and catches someone by surprise. It is similar to an ambush in combat.
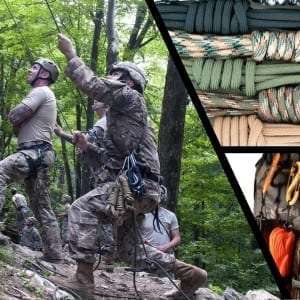
Excellent Ways To Effectively Manage Your Cordage
Excellent ways to effectively manage your cordage are easily available. The effectively management of cordage is an ongoing problem for most people. Cordage can become tangled and knotted even with the best of intentions of not allowing to happen. The problem exists regardless if you have sewing string or climbing rope. I have experienced the frustration of attempting to keep my cordage neatly wound and secured only for it become a mess after several uses. However, in this article I will discuss some tips and tricks that will
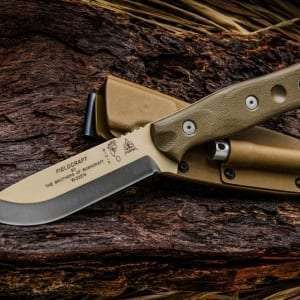
Outstanding Features In A Survival Knife
Everyone seems to agree that a good survival knife is an essential item for the outdoorsman, bushcrafters, or preppers. There are many good resources to access to learn about survival knives. However, the key words of versatility and practicality should influence your thinking about knives. Additionally, do you view a knife as a weapon or tool or both? Furthermore, there are at least two major things to consider before you decide on what kind of knife to purchase or carry: the purpose of the knife and the characteristics
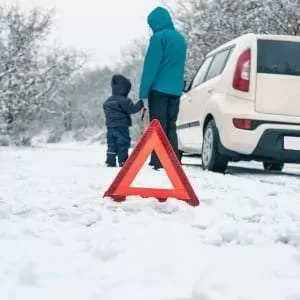
Modify Your Get-Home-Bag For Winter
Modifying your Get-Home-Bag (GHB) is a great way to stay ready for a winter emergency. The Fall is upon us now. Yet, Winter is about to arrive. Moreover, the winter season means traveling in dangerous weather conditions. Thus, it is critical to prepare to handle winter emergencies while on the road. Therefore, one of the ways to be prepare to face a winter travel emergency is to keep an emergency survival kit in your vehicle. A convenient way to keep an emergency survival kit in your car is
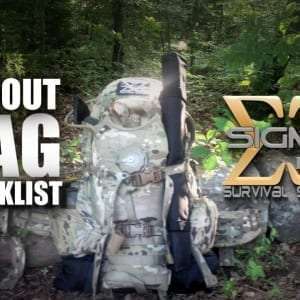
Quick Bugout Bag Checklist
The term bugging out is a term survivalist preppers and some military use when talking about getting out of a certain situation. A bugout bag is a handy set of ready to go items that you can just grab and go. Some people prefer the term "B.O.B."(Bug Out Bag) or "Go Bag." The general rule of thumb is to have enough supplies in your bug out bag to survive at least 3 days, although sometimes bug out bags are made to last 7 - 21 days, and even indefinitely.Depending

Alternatives to Buried Survival Caches
Practical Alternatives for Buried Survival CachesBy Matthew DermodyOne can hardly go far into the prepper and survivalist culture of self-reliance without running into the subject of gear survival caches and doomsday stockpiles. Having a survival cache and having access to the critical supplies contained within it is essential. As more and more people choose to lose their ability to take care of themselves, the need to keep your supplies from the prying eyes of the desperately unprepared grows even more. The most commonly discussed survival cache is the